Hi @olibclarke! If you’re wanting to find the mrc for each mic, you can use cs-tools. For example:
from cryosparc.tools import CryoSPARC, lowpass2
import json
import numpy as np
from pathlib import Path
import matplotlib.pyplot as plt
with open(Path('~/instance-info.json').expanduser(), 'r') as f:
instance_info = json.load(f)
cs = CryoSPARC(**instance_info)
assert cs.test_connection()
rbmc_uid = "J104"
rbmc_job = project.find_job(rbmc_uid)
rbmc_particles = rbmc_job.load_output("particles_0")
# arbitrarily picking the first mic here
mic_uid = rbmc_particles["location/micrograph_uid"][0] # 4693875069840635955
first_mic = rbmc_particles.query({"location/micrograph_uid": mic_uid})
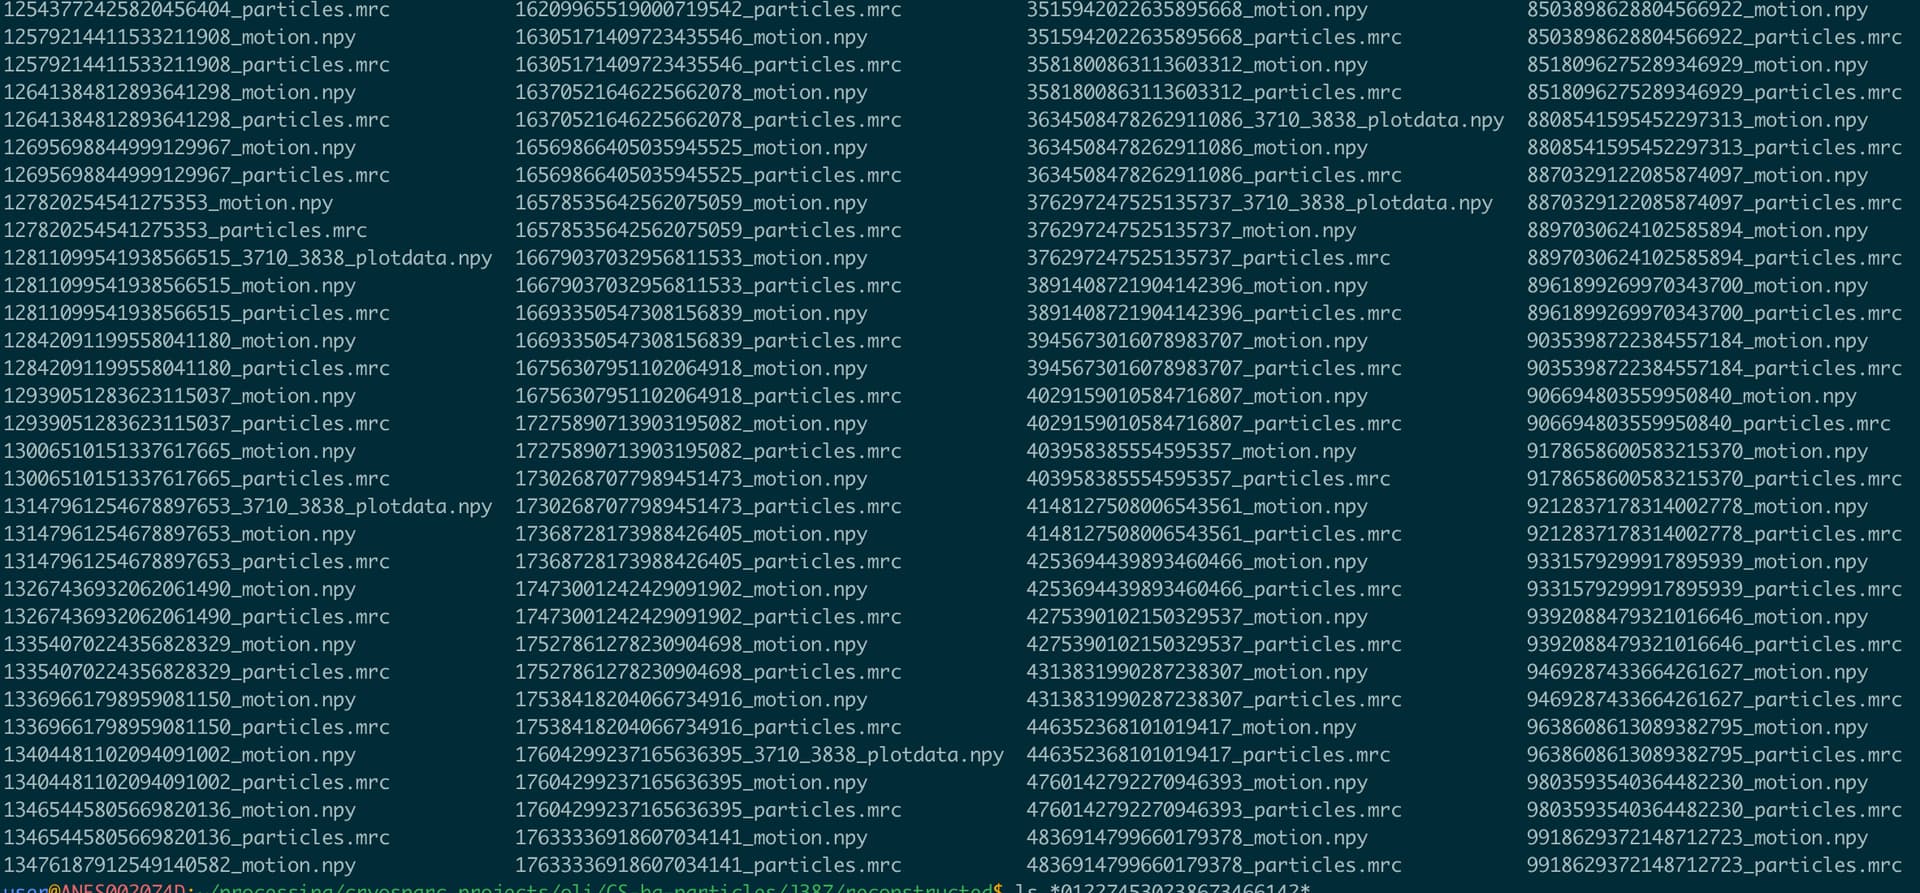
print(np.unique(first_mic["blob/path"]))
# prints ['J104/reconstructed/4693875069840635955_particles.mrc']
(as an aside, in my case, the UID in the RBMC particles mrc matched the mic UID in “location/micrograph_uid” for all particles in the dataset)
Or, to compare images, you could do:
def get_images(particle_uid):
particle_pmc = pmc_particles.query({"uid": particle_uid})[0]
particle_rbmc = rbmc_particles.query({"uid": particle_uid})[0]
# if you're comparing lots of particle images, you may want to save these
# headers and images in a dictionary so that you're not downloading the same
# one over and over again
pmc_hdr, pmc_mrc = project.download_mrc(project.dir() / particle_pmc["blob/path"])
pmc_im = pmc_mrc[particle_pmc["blob/idx"]]
rbmc_hdr, rbmc_mrc = project.download_mrc(project.dir() / particle_rbmc["blob/path"])
rbmc_im = rbmc_mrc[particle_rbmc["blob/idx"]]
return (pmc_hdr, pmc_im, rbmc_hdr, rbmc_im)
def particle_imshow(im, hdr = None, ax = None, lowpass = 20):
if ax is None:
fig, ax = plt.subplots(1, 1, figsize = (2, 2), layout = "constrained")
else:
fig = ax.get_figure()
if lowpass is not None:
if hdr is None:
raise ValueError("Must include particle image header if lowpass filtering")
im = lowpass2(im, hdr.xlen / hdr.nx, lowpass)
ax.imshow(
im,
cmap = "Greys_r",
origin = "lower",
interpolation = "nearest",
)
ax.set_aspect("equal")
ax.axis("off")
return fig, ax
def plot_compare(pmc_hdr, pmc_im, rbmc_hdr, rbmc_im, lowpass = 20):
fig, axs = plt.subplots(1, 2, figsize = (4, 2), layout = "constrained")
particle_imshow(pmc_im, pmc_hdr, ax = axs[0], lowpass = lowpass)
particle_imshow(rbmc_im, rbmc_hdr, ax = axs[1], lowpass = lowpass)
return fig, axs
particle_uid = pmc_particles["uid"][0]
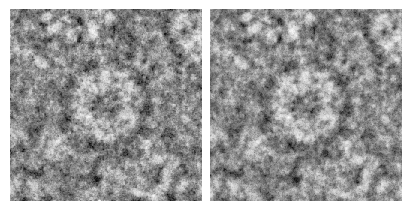
plot_compare(*get_images(particle_uid))
which produces this plot: